

GearSight Installation Instructions
PRELIMINARY - please check back soon for updated instructions and videos.
Tools Required
- Wire or cable cutters for cutting the cable housing.
- Wrench for loosening/tightening the cable clamp bolt on the derailleur. The exact type/size depends on the model of derailleur - most modern bikes use a 4mm hex or T25 'Torx' wrench.
- Optional: some grease or electrical tape to seal the cable housing if needed.
Installation Steps

1. Remove derailleur cable
Loosen the bolt on the derailleur that holds the shift cable in place. If the end of the cable is frayed, you should consider replacing the cable as it will make the rest of the installation easier.

2. Remove housing from cable
Pull on the cable housing where it goes into the shifter to expose the cable (inner wire). You'll need to pull the cable all the way out of the housing. You do NOT need to remove the inner wire from the shifter.
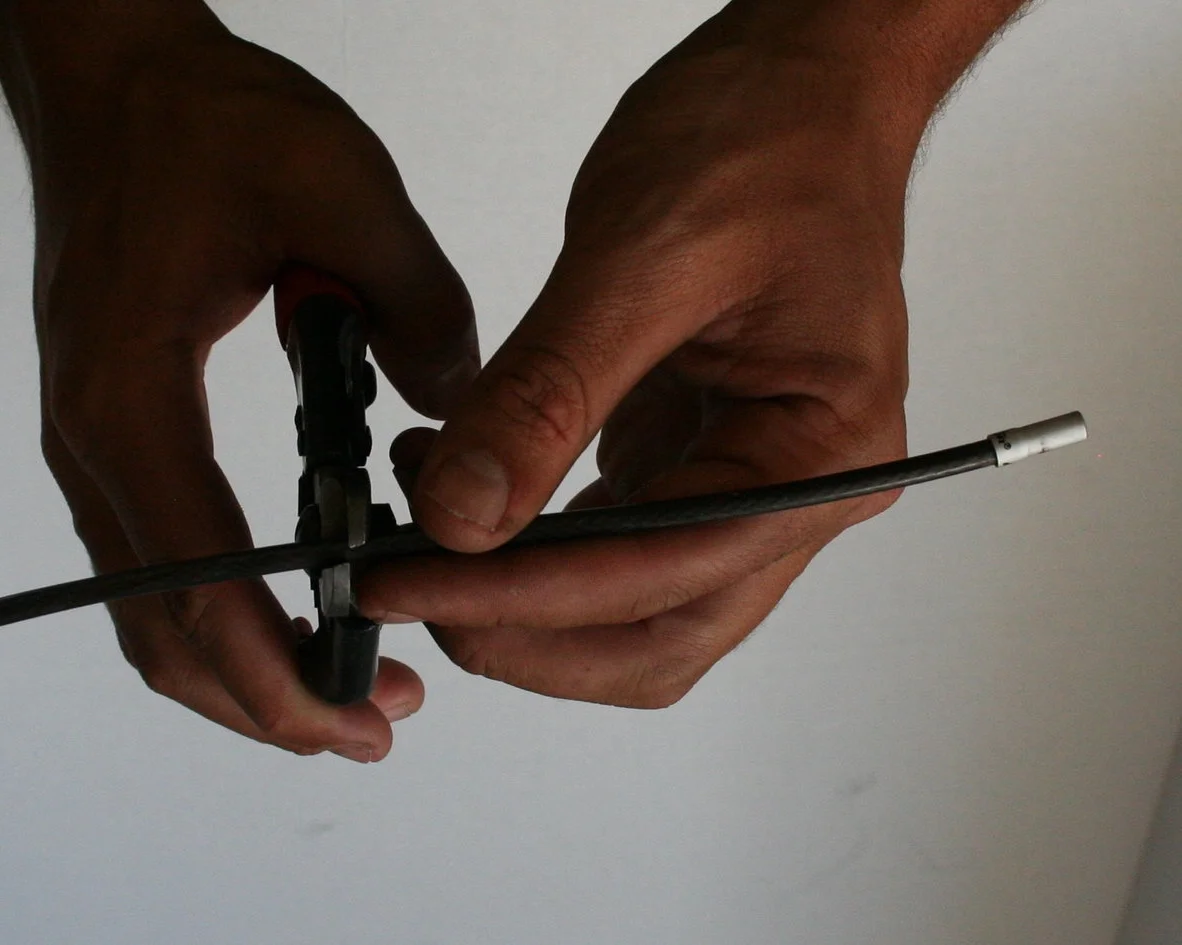
3. Cut the housing
Cut the cable housing approximately 4-6" from the end -- the exact distance isn't critical, but make it long enough so that you'll be able to see the GearSight without the handlebars getting in the way.

4. Thread the cable through the piece of housing
Take the piece of housing you just cut, and thread the inner wire back through it, all the way until the housing is up against the shifter. Make sure the cable housing is fully inserted into the shifter. You should also screw the adjustment barrel on the shifter all the way in, and then back it off about a half-turn so that you have some room to make adjustments later.

5. Put GearSight barrel and indicator on the cable
Thread the inner wire through the small hole in one of the GearSight 'barrels' and fully insert the cable housing in the barrel as shown. It should fit snuggly to keep out dust and dirt -- if it's too loose, put one of the supplied pieces of heat-shrink tubing over the end of the cable housing to make it fit tighter. You can shrink the heat-shrink tubing with a hair dryer, heat gun or lighter, but be careful to NOT apply any heat to the GearSight barrel.
Once the cable housing is securely inserted into the GearSight barrel, snap one of the GearSight 'indicator bugs' onto the inner wire as shown in the photo. Use your fingernail or a small, flat screwdriver to make sure the inner wire is fully inserted into the indicator bug.

6. Install clear tube, other barrel
Thread the inner wire through the clear tube and then through the other GearSight barrel, then insert the clear tube into the barrels. Make sure the clear tube is fully inserted into the barrels.

7. Cut a short piece off the housing
Because the GearSight adds a bit of length to the cable assembly, you need to remove a short piece of the housing to compensate. Cut a piece off the end of the housing that is approximately the same length as the GearSight itself.

8. Attach remaining housing
Thread the inner wire into the housing and push it all the way through until it comes out the other end (by the derailleur). Make sure the housing is fully inserted into the GearSight barrel. Like before, the housing should fit snugly in the barrel -- use a piece of the supplied heat shrink tubing or some electrical tape to make it fit tighter if needed.

9. Reattach cable to derailleur
Grab the end of the inner wire where it comes out the back by the derailleur and pull on it to make sure all the slack is out, and then reattach the cable to the derailleur.

10. Adjust cable tension
Now test out how the bike shifts and adjust the cable tension as needed.
If you need help getting your derailleur adjusted, check out this video:
How to setup your rear mech on GMBN